
How to Make (Kinda) Real (Sorta) Edible Doozer Sticks and Accidentally Predict the Future

Admit it—at some point, you’ve wished Doozer sticks were real so you could eat them. No? Just me? Either way, shouldn’t someone figure out how to make them in real life? And that, friends, is my favorite kind of ToughPigs article: someone dives deep into investigating some obscure Muppet-related question that literally no one else was asking.
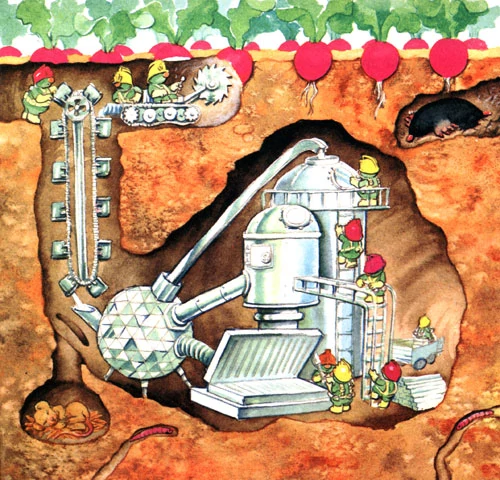
In episode 119, “The Great Radish Famine,” we learn that Doozer sticks are made thusly:
- Grind radishes into a fine white “radish dust”
- ?????
- Build!
The ’84 picture book What Do Doozers Do? hardly gets more specific: “Treadmill Doozer sends the radish dust down to the factory, where it is molded into Doozer sticks.”
But I am here to tell you that ground-up radishes are very wet. There is no way that blitzed radishes alone, molded together and somehow dried, would end up as a clear, hard, crunchy substance strong enough to build with. So I set about figuring out how to dehydrate radishes to make that finely-ground radish powder as a flavoring agent in a clear hard candy, which is what Doozer sticks most remind me of. Here is my step-by-step guide of what (not) to do.
Attempt #1: toaster oven radish chips
- Thinly slice radishes.
- Toss with (apparently too much) olive oil, salt, and pepper.
- Put into the toaster oven until some start to burn, flipping halfway through. If you have used too much oil, the “chips” will be very floppy and greasy.
Attempt #2: conventional oven
- Pre-heat the oven to its lowest possible setting (170° F in my case).
- Slice off the radish greens and the red outer layer of each radish. Save both to later use in a lovely salad. Slice the inner radishes thinly and place on a nonstick baking sheet.
- After 10 minutes, check on the radishes, decide that’s definitely not enough time, and add 20 minutes.
- Repeat step 3.
- Flip the radish slices.
- Check back, and wait 30 more minutes.
- And 30 more.
- And another 30.
- Actually bother to google how long this is supposed to take: “It’s remarkably easy to dehydrate fruits and veggies in the oven. Just turn it to the lowest setting, cut your fruit and veg into ¼ inch slices, and put them in the oven on a lined sheet pan for as long as they need, usually 6 to 8 hours.”
- Google how much a food dehydrator costs.
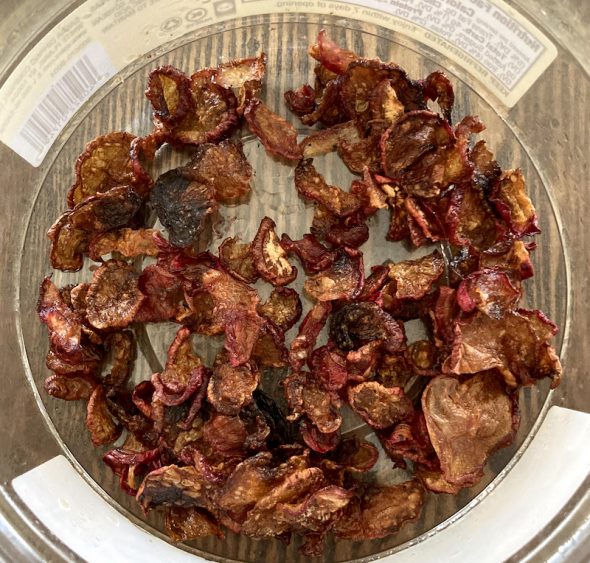
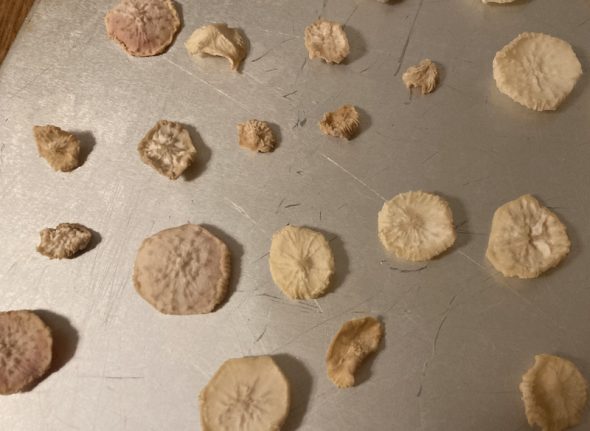
- At the end of the prescribed 6 to 8 hours, wind up with circular bits of beige leather that will definitely not turn into dust if ground up. Keep them around anyway because you put so much work into them, darn it.
- Forget about them for 4 weeks. Discover that even bits of beige leather do not keep in the pantry indefinitely. Chuck the moldy leather in the compost.
Attempt #3: freeze-dried radishes and radish extract
- Talk to an experienced foodie friend to get advice. When she looks surprised and slightly concerned, consider for the first time that perhaps radish-flavored candy might not taste good and this may be a fool’s errand.
- Talk to a different friend who points out that it’s easy to make your own flavor extracts.
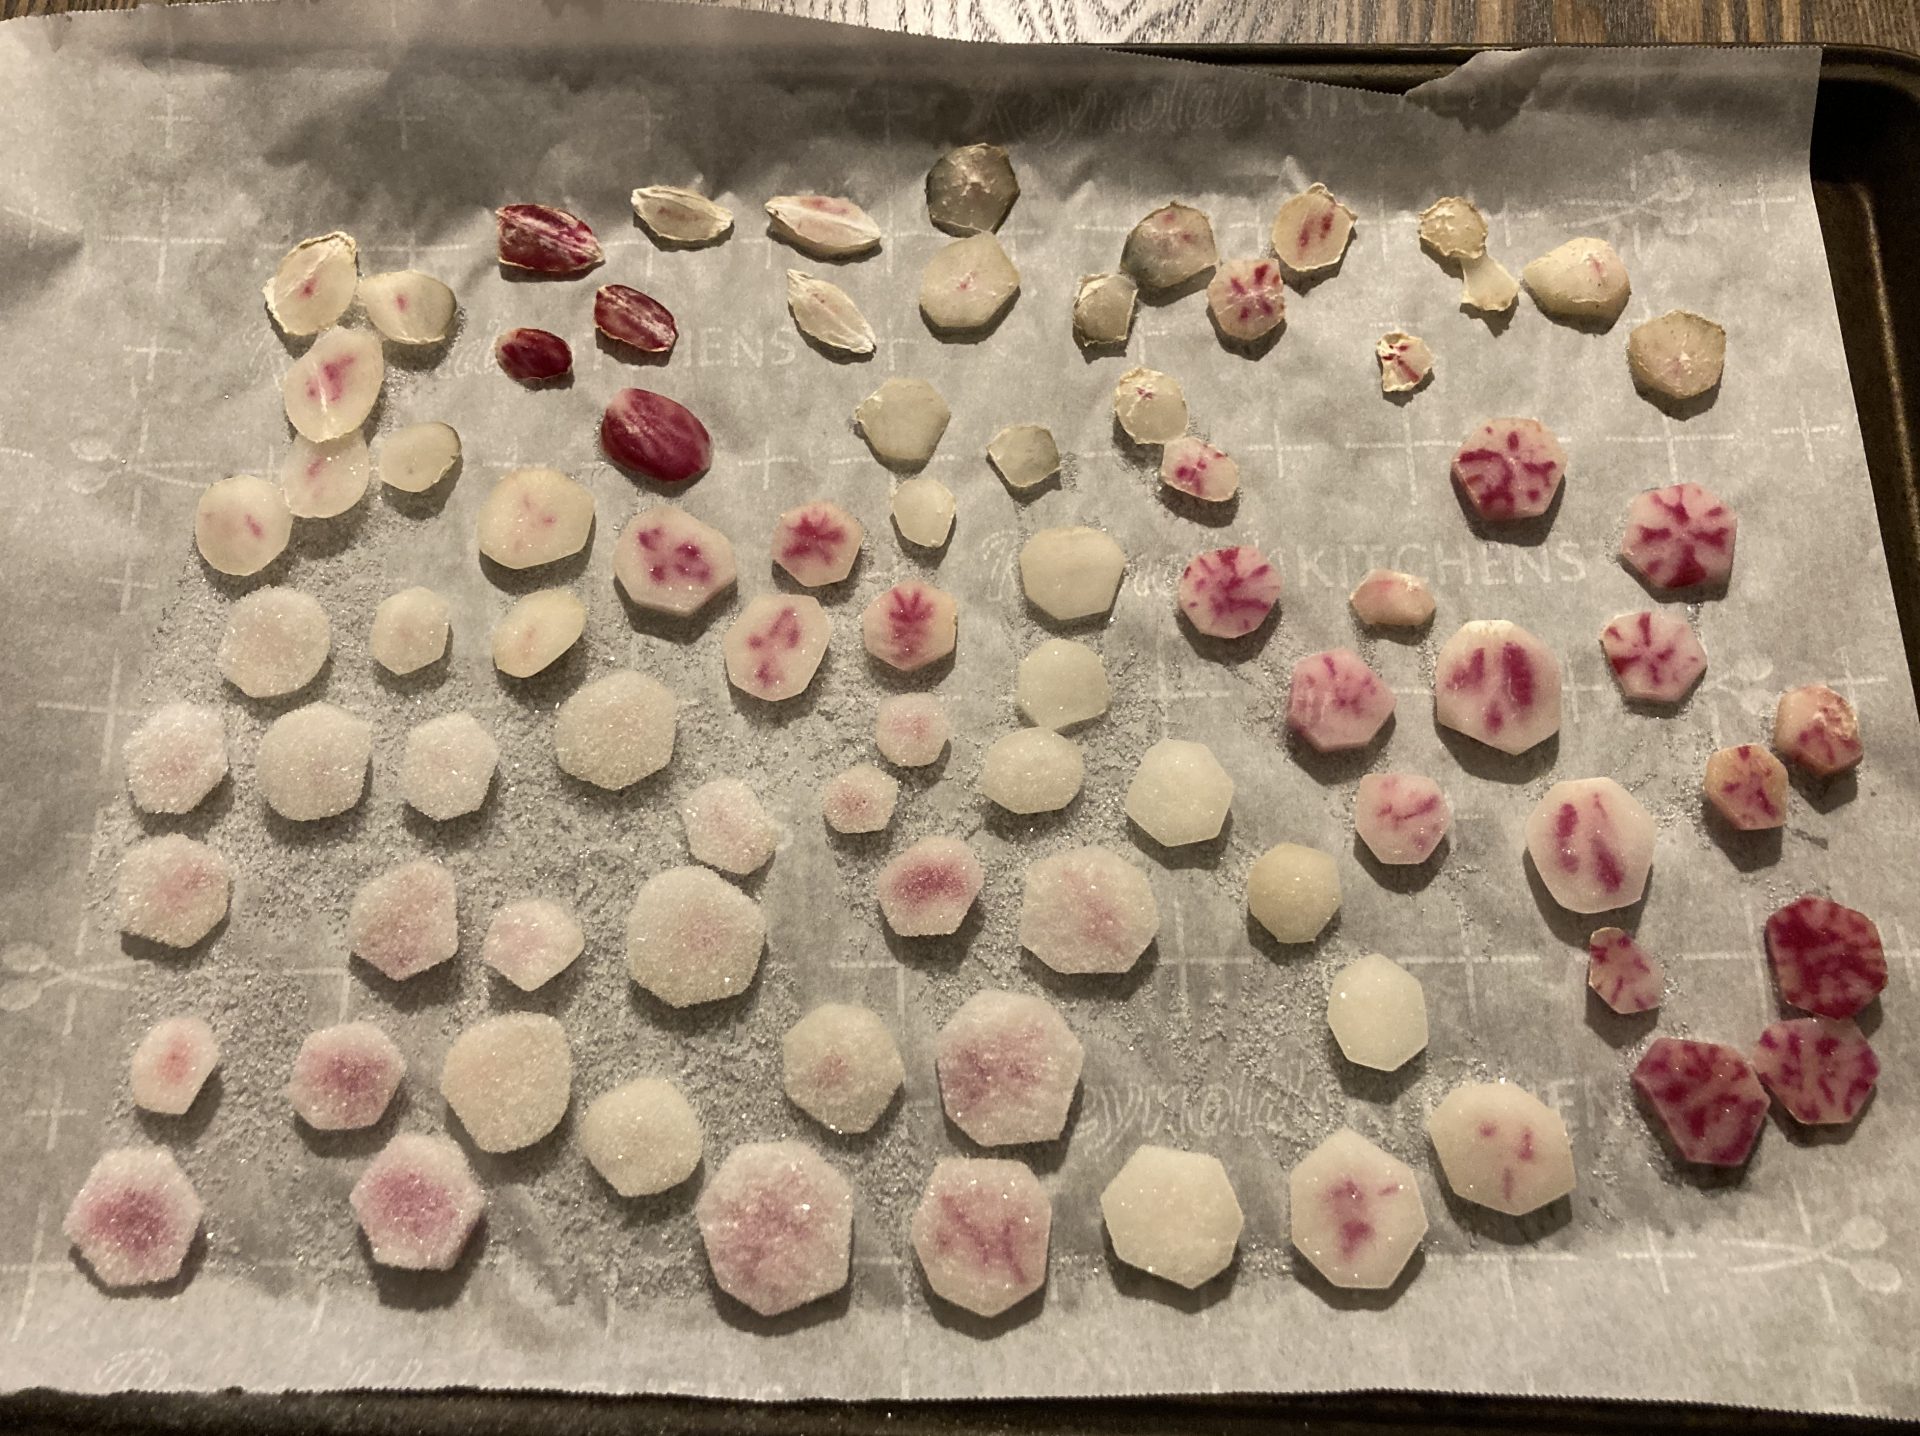
- Slice two bunches of radishes. To make radish extract, add the whitest pieces to a dark bottle and fill the rest of the way with cheap vodka.
- Attempt to make home freeze-dried radishes by taking the pinker slices, laying them on a parchment paper-lined baking sheet, and putting it uncovered in the freezer.
- According to various sources, leave both for 3 weeks.
- Forget both for 11 weeks.
- In the meantime, acquire a candy thermometer, funnel, various candy-making ingredients (see recipe below), and silicone molds. Be unwilling to pay exorbitant amounts and get some cheap ones from a home goods site in Singapore.
- Decide today is the day. Pull together notes from previous attempts.
- See if any fellow weirdos have tried to do this foolhardy thing, and discover two threads on the Muppet Central forums (one from 2012, one from 2004 but revived as recently as 2018), wherein other folks raised this question of making real-life Doozer sticks but did not report back on any attempts.
- Retrieve the home freeze-dried sliced radishes. Discover that home freeze-drying does not work. Freeze? Yes. Dry? No.

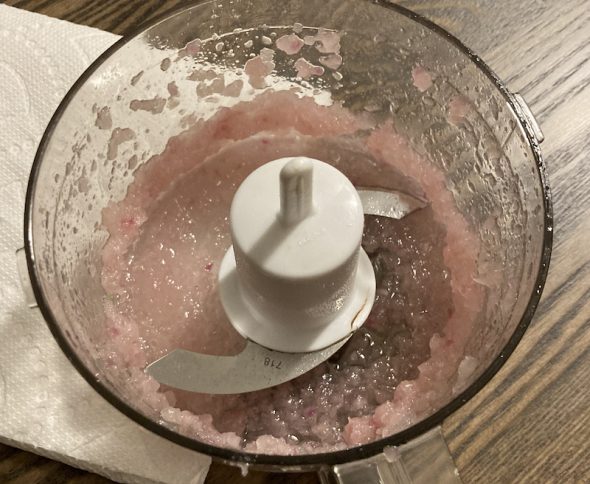
- Scrape off excess ice crystals and put the already thawing and floppy radish slices in a tiny food processor. On the grind setting, take out your latent frustrations for 5-10 seconds until the gunk stops moving, scrape down the sides of the food processor whence the radish bits have been flung, repeat. Many, many times. Wind up with what could charitably be called radish salsa.
- Add a bit of sugar, hoping that’ll help it stay together and dry out. (John Mulaney gif: “Does that work?” “It didn’t not work…”) Lay it out on a paper towel to soak up some of the excess moisture.
- Resign “freeze-dried radish powder” to “pink chunky sludge” and move on. Try not to be reminded too much of the evil pink slime from Ghostbusters 2 that gave me nightmares as a kid.
[record scratch]
Wait a minute! Pink goo?? In Doozer sticks?? Yes, folks, I made this attempt on 1/9/22, before I saw the reboot Back to the Rock, wherein pink goo in Doozer sticks ends up being a major plot line through the season. I accidentally predicted the future.
Too make the actual candy, I followed this candy ice recipe from Nerdy Mamma:
Ingredients
- 2 cups granulated white sugar
- 3/4 cups of water
- 2/3 cups light corn syrup
- flavoring oil, if desired [in my case, radish extract and/or pink goo]
Instructions
- In a medium saucepan add in the sugar, corn syrup, and water.
- Insert the candy thermometer and bring to a boil. Stir constantly until the thermometer reaches 300 degrees.
- Once at 300 degrees, remove from heat and transfer immediately to [4 bowls pre-portioned with: 1. neither/control (for science), 2. extract, 3. pink goo, and 4. both].
- Mix quickly and transfer to silicone molds, clearly labeled to show which sticks came from which batch.]
- Allow it to sit until hardened (about 2 hours on the counter or 30 min in the freezer). Make sure to cover it while it sits.
Lessons learned from this attempt:
- Definitely use gloves to protect your hands, but make sure they’re gloves you can either boil or throw away.
- When you clean up, don’t try to scrub your equipment with soap and hot water or wait until it’s dried and crack off the residue. Turns out you can just boil everything in water to to melt the residue away.
- When the directions say “pour immediately,” they mean it. Every second off the heat is a second spent hardening.
- If attempting in the future, don’t make four different recipes with the flavors mixed in at the last second. Pick one recipe and add the flavor along with all the other ingredients.
- If you’re going to be doing this a lot, invest in one of those fancy funnels where you can open and close the spout for more exact pouring. Otherwise you’ll have drips connecting all your candies that will make them stick together and look messy.
- Waiting for the sugar mixture to get to 300 degrees takes way longer than I expected, like 30-45 minutes. According to another recipe, you can stop stirring for 10-15 minutes after it boils to wait for the temperature to rise. So I split the difference and took a series of 5-minute breaks, checking the temperature after each.
Taste-testing 2 days later:
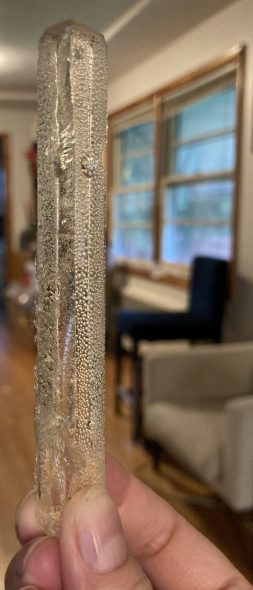
- Batch 1: Control: Intact and separate, full of tiny bubbles, crunchy, tastes like nothing but sugar (of course)
- Batch 2: Extract: Melded together in one lump, chewy like the strongest caramel you’ve ever had, no discernible radish flavor.
- Batch 3: Pink goo: Floppy, pale pink, can see bits of sludge in it but still clear. A very small amount of discernible radish flavor! Again, a texture that will pop your fillings out.
- Batch 4: Both extract & pink goo: Never got solid enough to move out of the silicone molds?? A bit more discernible radish flavor (yay!) but still very sweet. Texture somewhere between marmalade and an extremely sticky caramel sauce.

Lessons learned from taste-testing:
- Candy-making, like baking, is not an art but a science, and I am not a scientist.
- Nothing. I’ve learned nothing except to not repeat my mistakes and Try, Try Again, because everyone is a scientist (as my high school science teacher used to say).
Next attempt??
- Use daikon radishes instead of the red kind so that the result is white instead of pink, unless you’re deliberately trying to recreate the new pink Doozer sticks from Back to the Rock.
- Use isomalt instead of regular sugar like the DIY candy-making blogs recommend, because it’s supposed to be easier to work with.
- Grind the radishes first and then dry? But HOW?? (Maybe order freeze-dried radishes online if such a thing exists?)
- But at the end of the day, I’m still trying to make a radish-flavored candy, which is… never going to taste good. I wonder if it’s possible to make savory Doozer sticks, but is there any savory substance besides salt that dries clear and hard? Do any ToughPigs regulars know the guy from Binging With Babish? Because he might be my last hope…
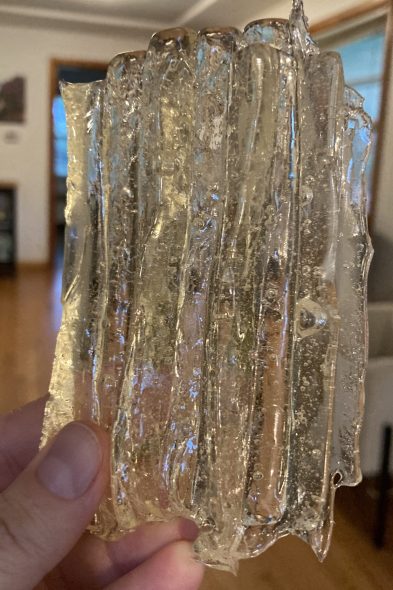
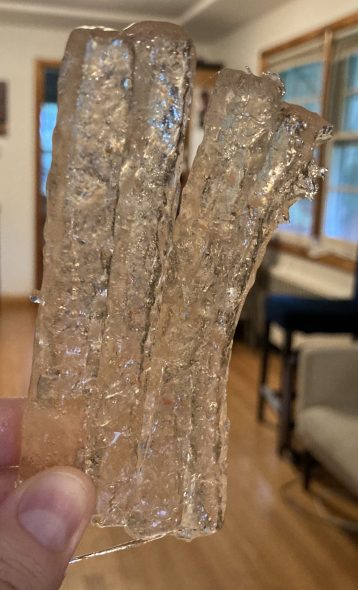
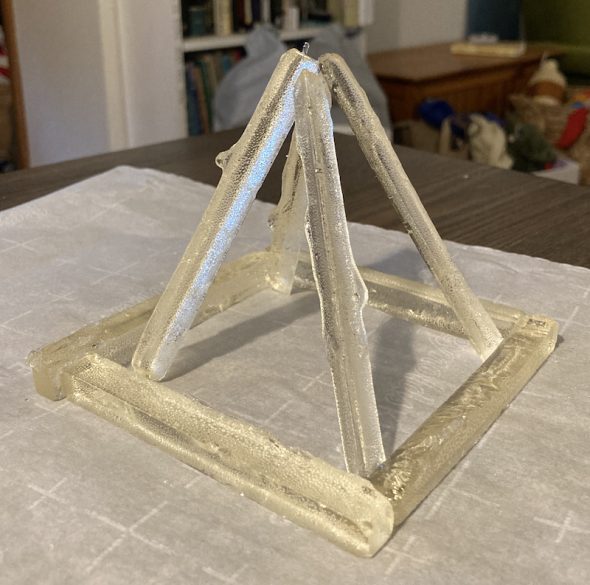
P.S. Here it is, my first Doozer construction made with real-life edible Doozer sticks. Eat your heart out, Frank Lloyd Wright.
Click here to taste test on the ToughPigs forum!
By Beth Cook