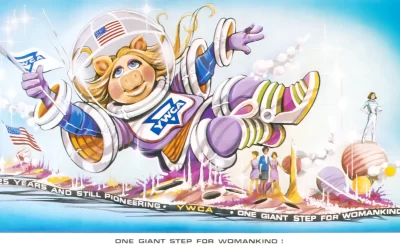
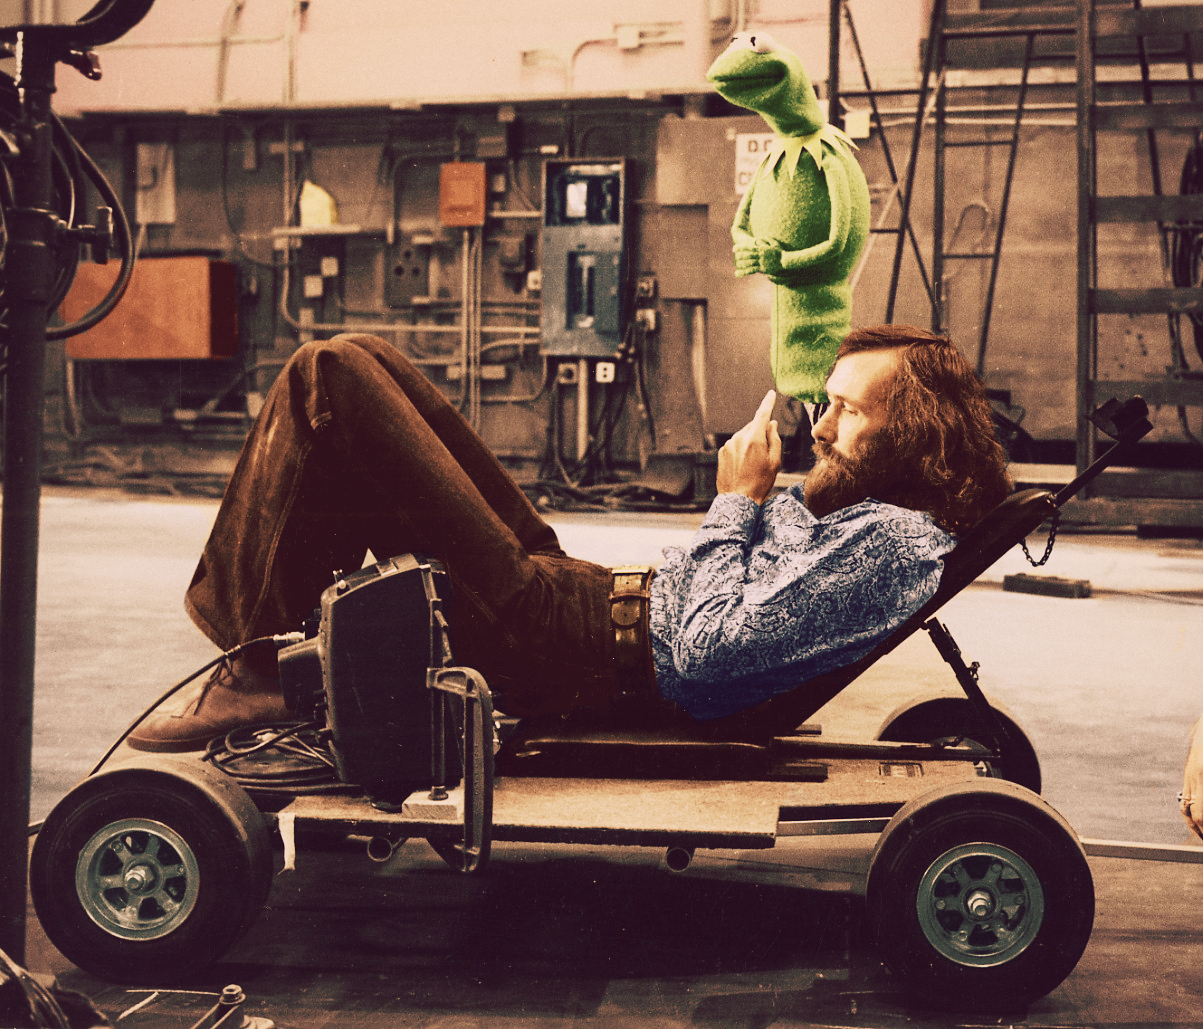
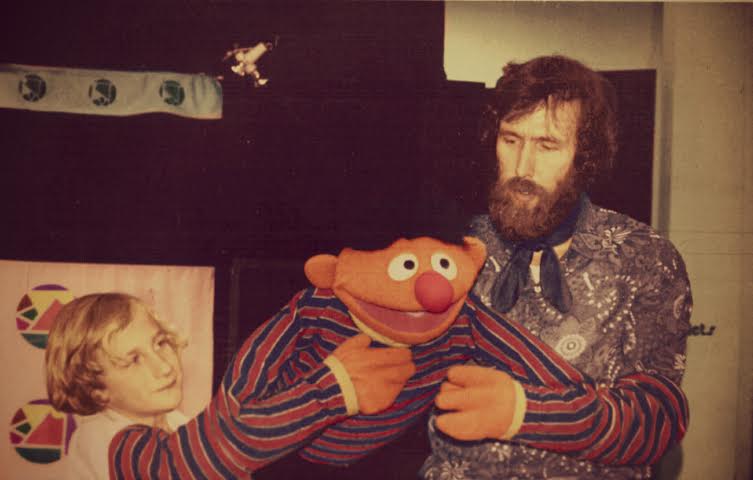
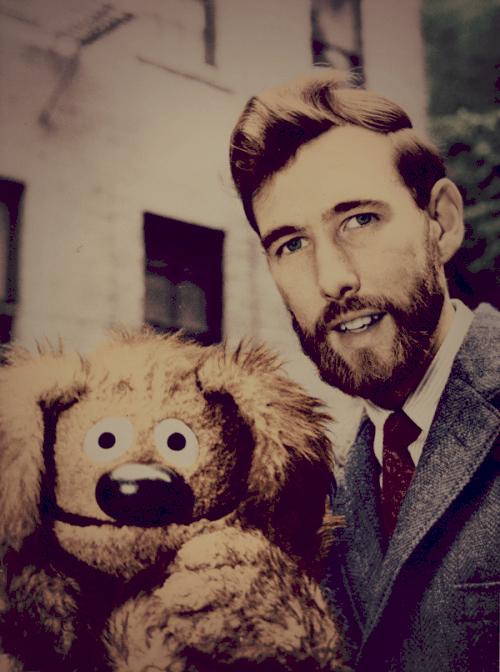
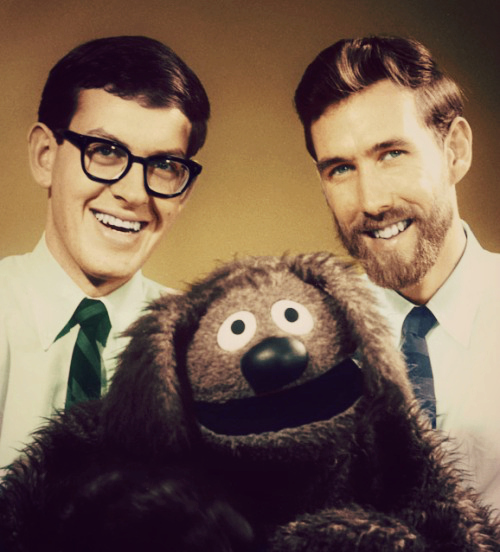
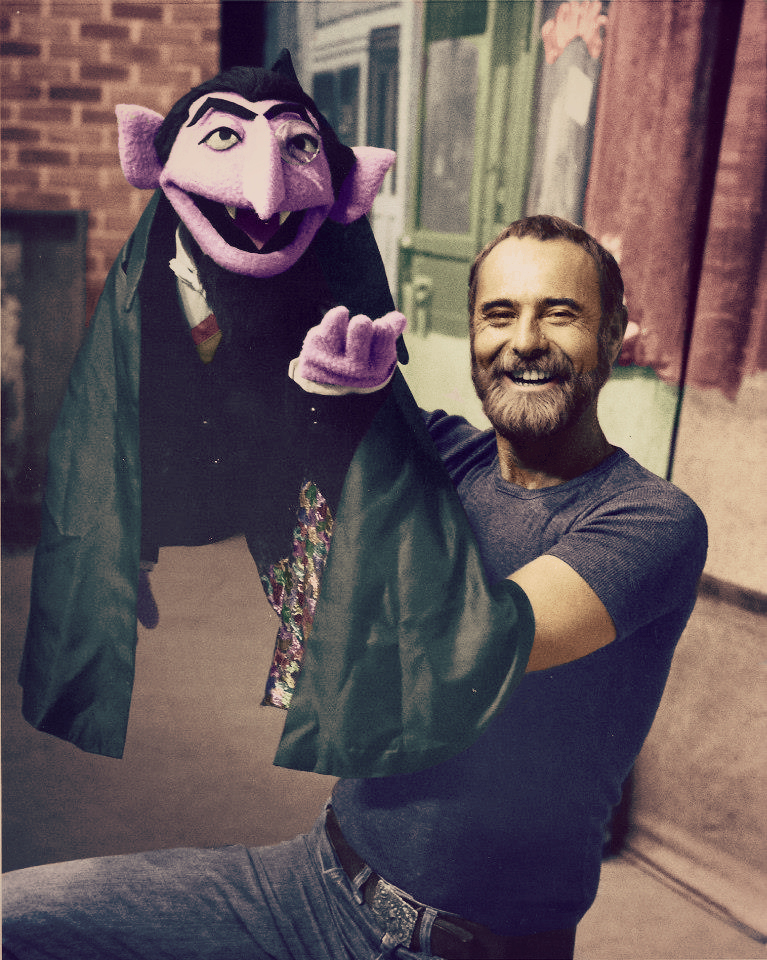
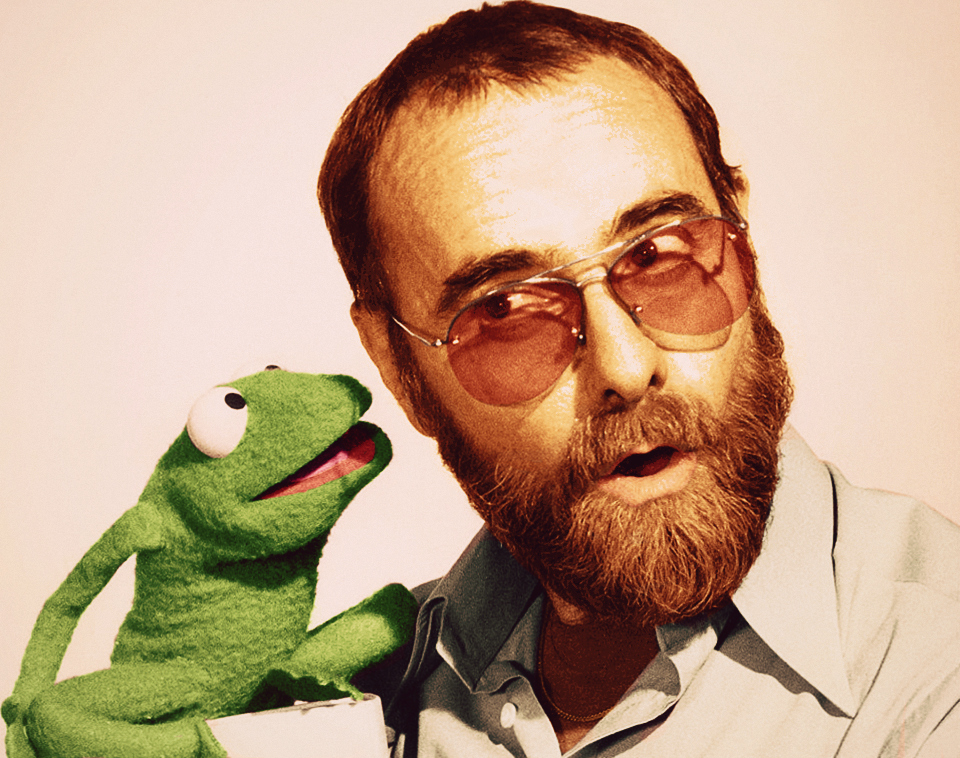
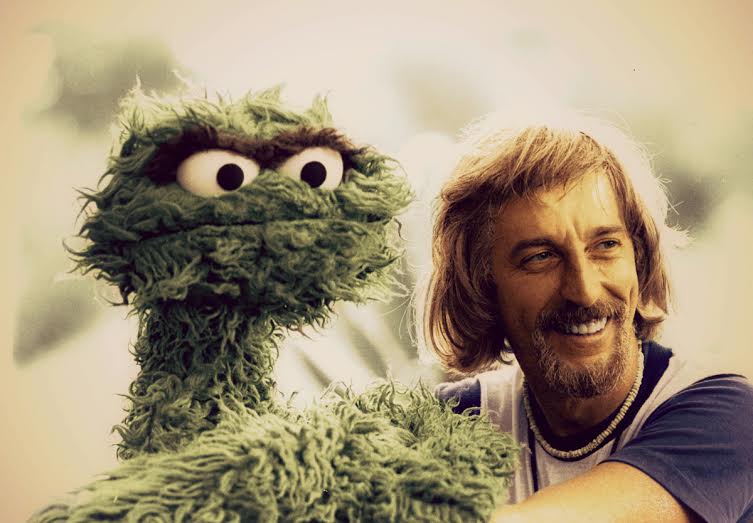
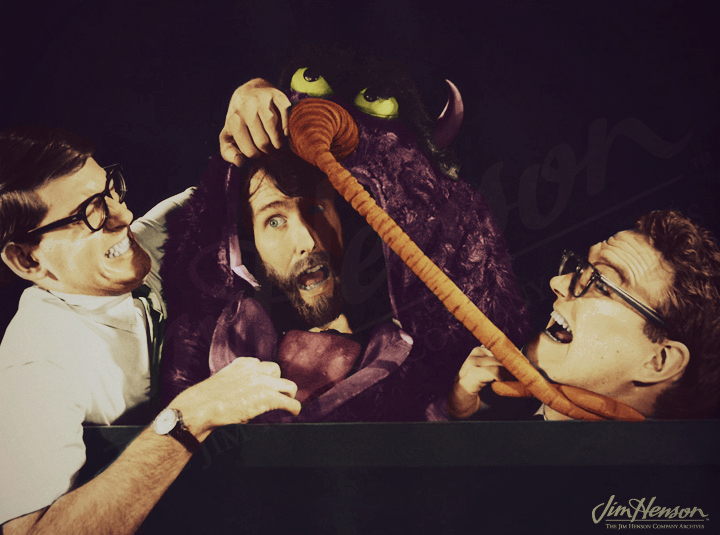
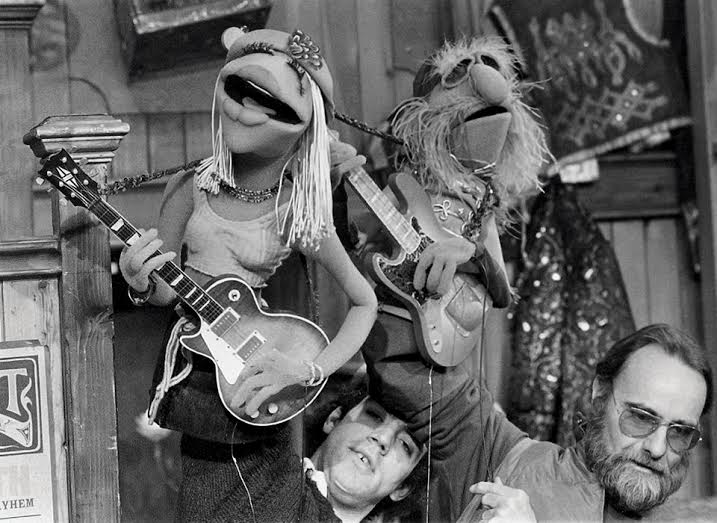
There are hundreds and hundreds of behind-the-scenes photos from the Muppets’ long history. But one thing I always lamented (just a little bit) was how many of them are in black-and-white. Sure, it’s more artistic, but the Muppets (and their performers) are best seen in color, practically popping off the page or screen or handheld digital tablet.
ToughPigs friend Meagan Barbeau must’ve thought the same thing, because she’s been taking it upon herself to colorize some of the best-known photos from Muppet history. Don’t worry, this isn’t a Ted Turner situation where we’ll be considering the new pictures as replacements for the originals. They’re strictly for funsies, and to show how great they could’ve looked.
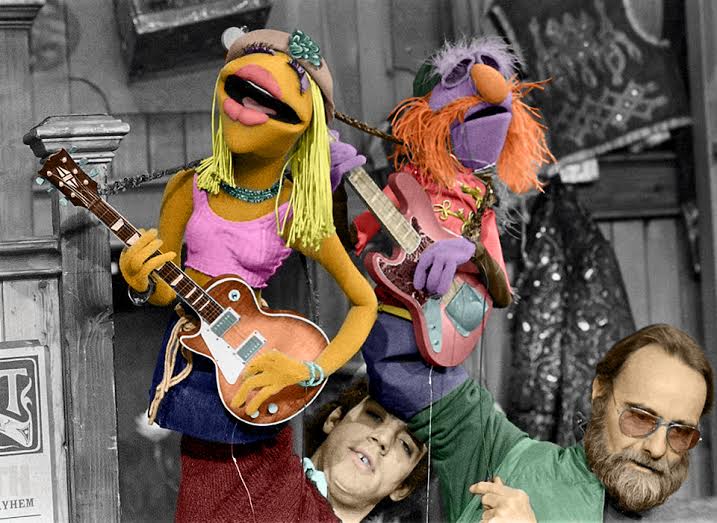
Check out a few of Meagan’s colorized photos, and then scroll down for her explanation of how she managed to do it, along with some in-progress images!
Here’s Meagan to explain her colorization process:
One of my favorite things to do is bringing color to previously black and white photos; it’s like a coloring book. So, I thought you might like to hear how I go about doing that. Then go crazy and color your own photos of Muppet performers or vintage cars or exploding socks or whatever.
I use Photoshop for my photos, and many of you familiar with Photoshop know about the main tool used for coloring photos: the color replacement tool. It allows you to paint over areas of a photo with a color like you would with a brush while keeping the shadows and tones of the photo. So not only can you add color to colorless photos, but change colors in color photos. If you’ve ever wanted to know what Frank Oz would look like with a pink mustache, or what Gonzo would look like as an orange “whatever” instead of a blue one, this is the tool for you. To begin with, I choose my photo, careful to choose a higher quality one that’s easier to color. The more details in the photo, the longer it’ll take. Mine can take anywhere between 10 minutes and 10 hours.
Then I choose the color replacement tool and pick the color I want to start with (usually considerably darker or lighter than the actual color, as you’ll see it’ll look much brighter on the photo), then simply color in the photo like you would a coloring book! It’s important to color everything (even white, black, or grey things), otherwise that part will stand out more than the others (in a bad, unfinished way).
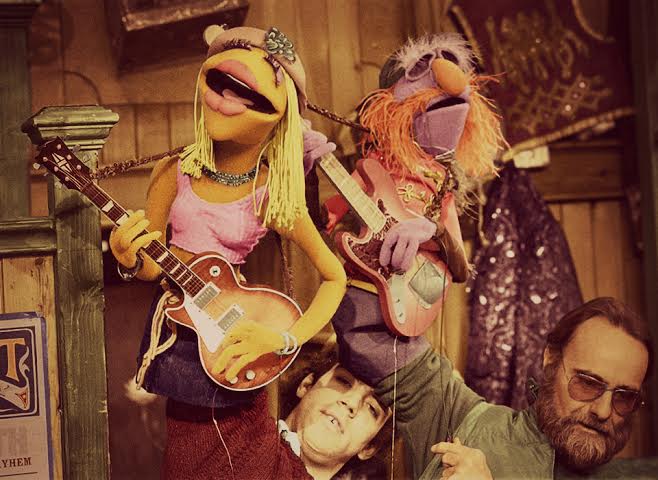
All done? Great! Now what you’re probably thinking is “That doesn’t look realistic, the colors look flat and my people look like zombies”. So, unless you colored zombies, the fast way to fix that and make the colors of the photo look realistic is to put some filters on the photo. Most people stop after they’ve colored it in Photoshop, and I used to as well, but then I realized how beneficial filters really are. So save your photo as a .jpg, then go to a site like PicMonkey (which I use, because I’m cheap and it’s free), and add a few filters. In PicMonkey, I usually at least use “Dusk” and “Yester-color”. Play around with a few to see which ones make your photo look better. Because I color my photos this way, I know how certain colors are going to look after the filters, and can take that into account while coloring. For example, if I want something to look metallic and silver, I’ll color it light blue.
And that’s it! Congratulations, you’ve got a brand new photo that’s all colorful and pretty! Keep an eye on my Muppet blog on Tumblr for more of my photos, and feel free to shoot me an ask if you’ve got any comments or questions. I’d love to hear from you!

Many, many thanks to Meagan for sharing her story and her pictures!
Click here to add a splash of color to the ToughPigs forum!
by Joe Hennes – [email protected]